Team:Denver Biolabs/Design
Team:Denver_Biolabs

Yeast Dryer
As our team began our oxytocin-focused project, we began thinking about ways to
grow and sustain a yeast-based diagnostic system in the rural areas we are focused on.
This challenge led us to design and build a system for drying our oxytocin-reporter yeast
into a powdered form that could be reconstituted on site similar to baker's or brewer's yeast.
The concept and design of the spray dryer is based on the industrial systems used to
produce large quantities of baker's and brewer's yeast. Pictured below is a general design
of an industrial yeast dryer.
 Photo credit: Arjun Ghimire
Liquid culture is piped through an atomizer at the top of the
column. Hot air is simultaneously vented into the column, and a third inlet to column vents
air to create a vortex inside. As the liquid culture passes through the hot air column, evaporative cooling
prevents the cells from experiencing the direct and fatal heat within the column. The dried
yeast falls to the bottom of the column and is collected, while the excess air is vented out.
This videodemonstrates the key features of industrial yeast drying aparatuses.
Heating Manifold
Materials:
(1) Duct cap - diameter 14"
(1ft) 1/2" copper pipe
(2) Street (male-female) fitting copper pipe 45-degree elbows
(2) Regular (female-female) fitting copper pipe 45-degree elbows
(4) 90 degree copper pipe elbows
(1) 3" 90-degree duct elbow
(1) Airbrush (traditionally used for model painting, etc.)
(1) Roll of high-temperature ducting foil tape
1. Drill small hole in the center of the duct cap corresponding to the size of the air brush you use
2. Drill two 5/8" holes and two 3/4" holes around the center air brush hole
3. Place 45-degree street and regular fittings in the holes all pointing toward the airbrush tip inside the duct cap -
use high temperature foil tape to the secure the fittings in place
4. Assemble copper pipe so all the openings face the same direction at a 90-degree angle pointing out of the duct cap (see image below)
5. Using high temperature foil tape, attach a 3" 90-degree duct elbow to the openings of the copper pipes (this is where the blow dryer will attach)
 Heating manifold pieces
 Copper elbows pointing into the column/vortex cylinder
 Assembled airbrush and copper elbows on the top/outside of the column/vortex cylinder
 Assembled heating manifold
Column/Vortex Cylinder
Materials:
(1) 14" cylindrical duct, cut a 20" piece
(1) 14"-to-8" reducer
(1) 8"-to-6" reducer
(1) 6"-to-4" reducer
(1) 4" 90-degree elbow
(1) Vacuum attachment
1. Cut two three-inch slits 10 inches apart in the middle of the 20" cylinder (see image below)
2. Attach the vacuum hose attachment into the 10-inch slit with tape
3. Attach the 14"-to-8" reducer to one end of the 20" column
4. Attach the 8"-to-6" reducer to the 14"-to-8" reducer and the 6"-to-4" reducer to the 8"-to-6" reducer.
You should have something that looks like an upside down funnel.
5. Attach the 4" 90-degree elbow to the 4" end of the last reducer
6. Place a piece of sturdy tape across 1/3 of the vent opening (see image below) - this will create
a vortex when the air and yeast leave the column, facilitating the precipitation of the dried yeast into the bottle
at the bottom.
 Assembled column/vortex cylinder
 10" slit in the column/vortex cylinder with vacuum attachment
 Occluded vent to produce vortex
 Looking into the column
Powder Separation Column
Materials:
(1) 4" cylindrical duct, cut into 2 12" pieces
(1) 4-to-3" reducer
(1) 4" cylindrical T-duct
(1) 4" 90-degree elbow
(1) 3" plastic funnel
(1) 1-liter media bottle
(n/a) epoxy
1. Take the 4" cylindrical T-duct and attach the two 12" pieces to either end
2. Attach the 4"-to-3" reducer to the end of one 12" piece
3. Tape the 3" plastic funnel to the end of the 4"-to-3" connector
4. Attach a 4" 90-degree elbow to the other 12" piece (this will connect to the exhaust manifold)
5. Cut a hole into the cap of the 1-liter media bottle
6. Use epoxy to secure the cap to the funnel (so dried yeast can be funneled into clean bottles which can be switched out)
 Connected powder seperation column and exhaust manifold
 Preparing to expoxy the cap to the funnel
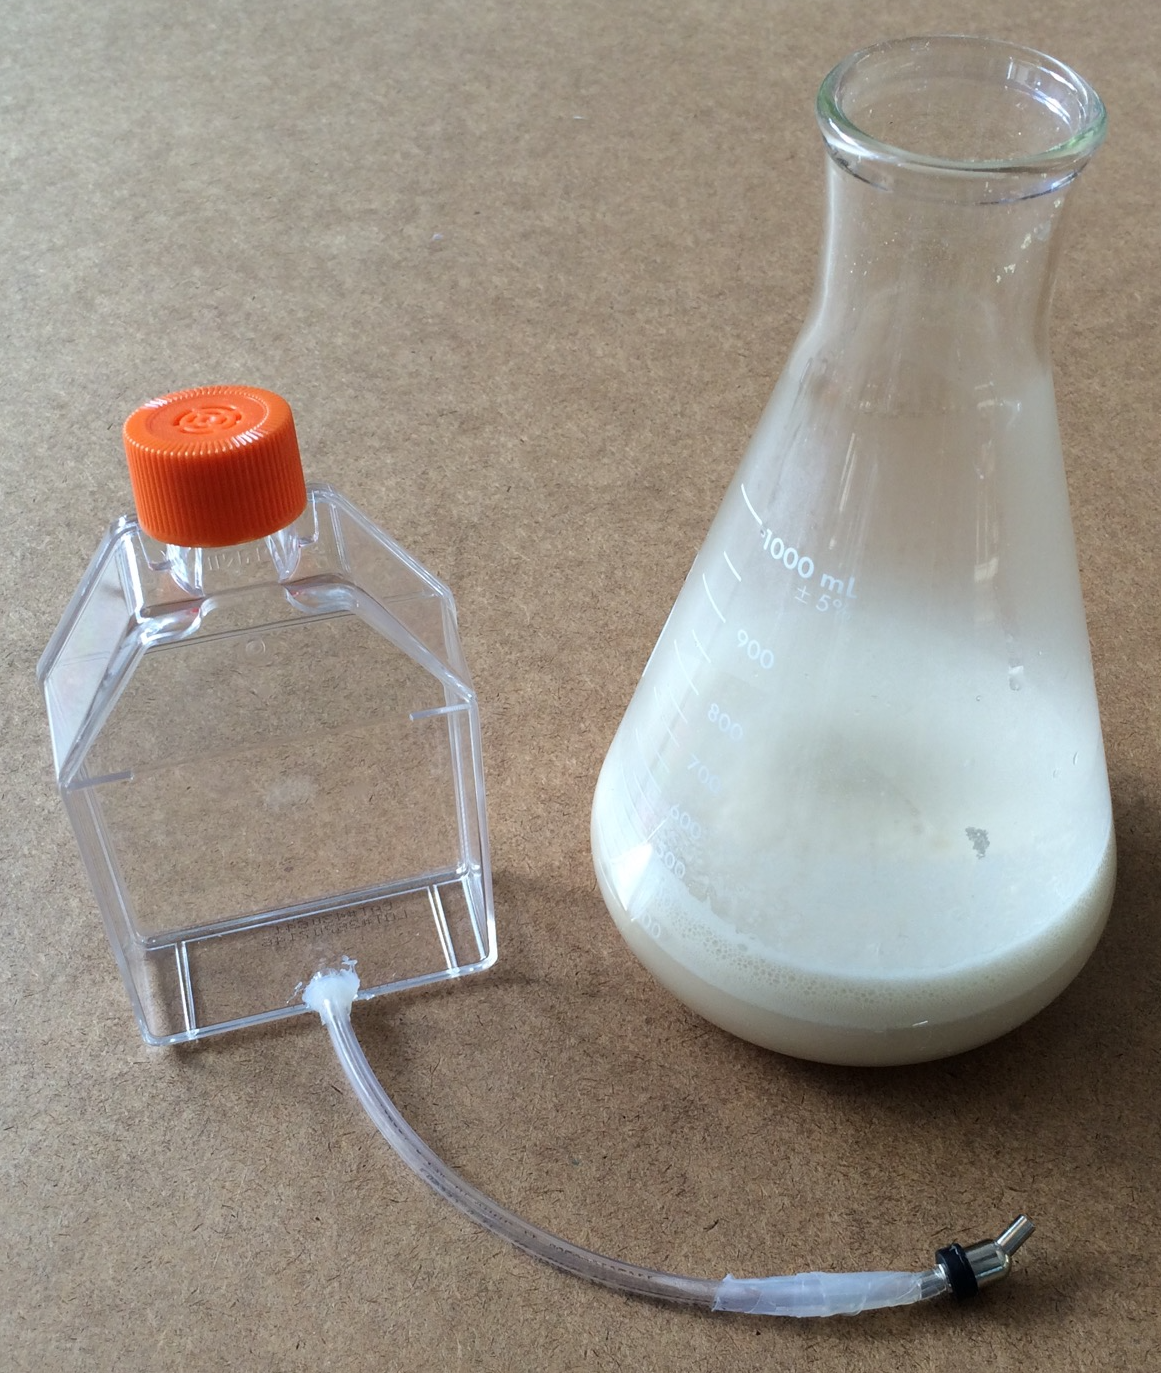 While you have the epoxy out...set up your liquid media bottle!
Exhaust Manifold
Materials:
(1) 4"-to-6" reducer
(1) 6" 90-degree elbow
(1) 6" venting attachment
(n/a) vacuum bag(s)
1. Take the 4"-to-6" reducer and attach it to the 4" 90-degree elbow coming from the top of the powder separation column
2. Attach the 6" 90-degree elbow to the reducer
3. Attach the venting attachment to the elbow
4. Secure a vacuum bag (we used large rubber bands and tape) to the venting attachment
Dryer Stand
Materials:
(24ft) 1" PVC pipe
(8) 1" PVC elbow connectors
(4) 1" PVC straight connectors
(6) 1" PVC t-connectors
1. Cut the PVC pipe into 6 2-foot sections, 9 1-foot sections, and 6 1/2-foot sections.
2. Assemble the large square base using 8 of the 1-foot sections, 4 of the elbows,
3 t-connectors, and 1 straight-connector.
3. Connect the six 2-foot pieces together with 3 straight connectors.
4. Attach the 3 4-foot pieces to the square base.
5. Build the top square with 4 elbow pieces, 1 1-foot piece, 6 1/2-foot sections, and 3 t-connectors.
6. Attach the top square to the tops of the 4-foot pieces of PVC. Done!
(Optional) We used a piece of Ecovative Myco Foam we grew to create padding that sits on the
top square of the stand to support the dryer.
 Assembled dryer stand
 Preparing to cut the myco foam to fit the diameter of the column
 Using a drywall saw to cut the myco foam for the stand support
 Column sitting in dryer stand with myco foam support
Completed Yeast Dryer
 To operate our fully assembled yeast dryer, you will need a ladder, two blow dryers, a power strip, liquid yeast culture, and an air compressor
to provide the pressure for the airgun. Cut a small hole in the bottom of the liquid media bottle and epoxy a piece of tubing with the airgun attachment
on the other end into the hole (let dry). Fill the media bottle with liquid yeast culture, turn on the air compressor (hooked up to the airgun on the top
of the column/vortex). Turn on both blow dryers - one venting into the top heating manifold, and one venting into the vacuum attachment on the column/vortex.
We found that the "warm" setting on high for the blow-dryer blowing into the vacuum attachment and high, hot setting on the heating manifold blow-dryer
worked the best. Take your liquid media bottle with airgun attachment and ascend the ladder. Attach the bottle to the airgun and start spraying! It took
approximately 2 bottles of media to get a sizeable quantity of dried yeast in to the collection bottle. Note: We also tried to avoid static electricity buildup
by grounding our column to the building. We also insultated the column with space-blanket-like material to reduce the dried yeast powder from sticking to the
inside of the column.
To operate our fully assembled yeast dryer, you will need a ladder, two blow dryers, a power strip, liquid yeast culture, and an air compressor
to provide the pressure for the airgun. Cut a small hole in the bottom of the liquid media bottle and epoxy a piece of tubing with the airgun attachment
on the other end into the hole (let dry). Fill the media bottle with liquid yeast culture, turn on the air compressor (hooked up to the airgun on the top
of the column/vortex). Turn on both blow dryers - one venting into the top heating manifold, and one venting into the vacuum attachment on the column/vortex.
We found that the "warm" setting on high for the blow-dryer blowing into the vacuum attachment and high, hot setting on the heating manifold blow-dryer
worked the best. Take your liquid media bottle with airgun attachment and ascend the ladder. Attach the bottle to the airgun and start spraying! It took
approximately 2 bottles of media to get a sizeable quantity of dried yeast in to the collection bottle. Note: We also tried to avoid static electricity buildup
by grounding our column to the building. We also insultated the column with space-blanket-like material to reduce the dried yeast powder from sticking to the
inside of the column.
Next Steps and Future Improvements
We found that vast majority of the yeast powder was sticking to the inside of the column. To avoid this in future iterations, we would explore using higher
velocity and hotter air in the heating manifold and the column. We would also insert acrylic windows into the column so we could watch the activity inside
the column during test runs. In the photo, we have a weight holding the stand down, which worked well for our prototype, but in future iterations of the
dryer stand, we would use a more sturdy design. We also noticed during our test runs that the vacuum bag on the exhaust manifold collected quite a bit of
yeast, so a second powder separation column should be added to future designs of this dryer.
With the airbrush we used - a Master Airbrush S62 model - we found that the 0.5mm nozzle worked the best. The 0.7mm nozzle sprayed too much liquid, and contributed
to a lot of the yeast sticking to the sides of the column.
Another improvement to the dryer we would make is to add thermisters throughout the system so that we could better record and regulate the temperature
at different points in the drying process. And finally, we would explore different coatings for the inside of the column that could help prevent
the yeast from getting stuck to the insides of the column.
After constructing a functional dryer with the improvements listed above, we would also conduct viability
tests at various time-intervals to determine how long our dried yeast could survive in heat-sealed foil
packets - our intended modality for shipping and transport of the yeast reporters.